
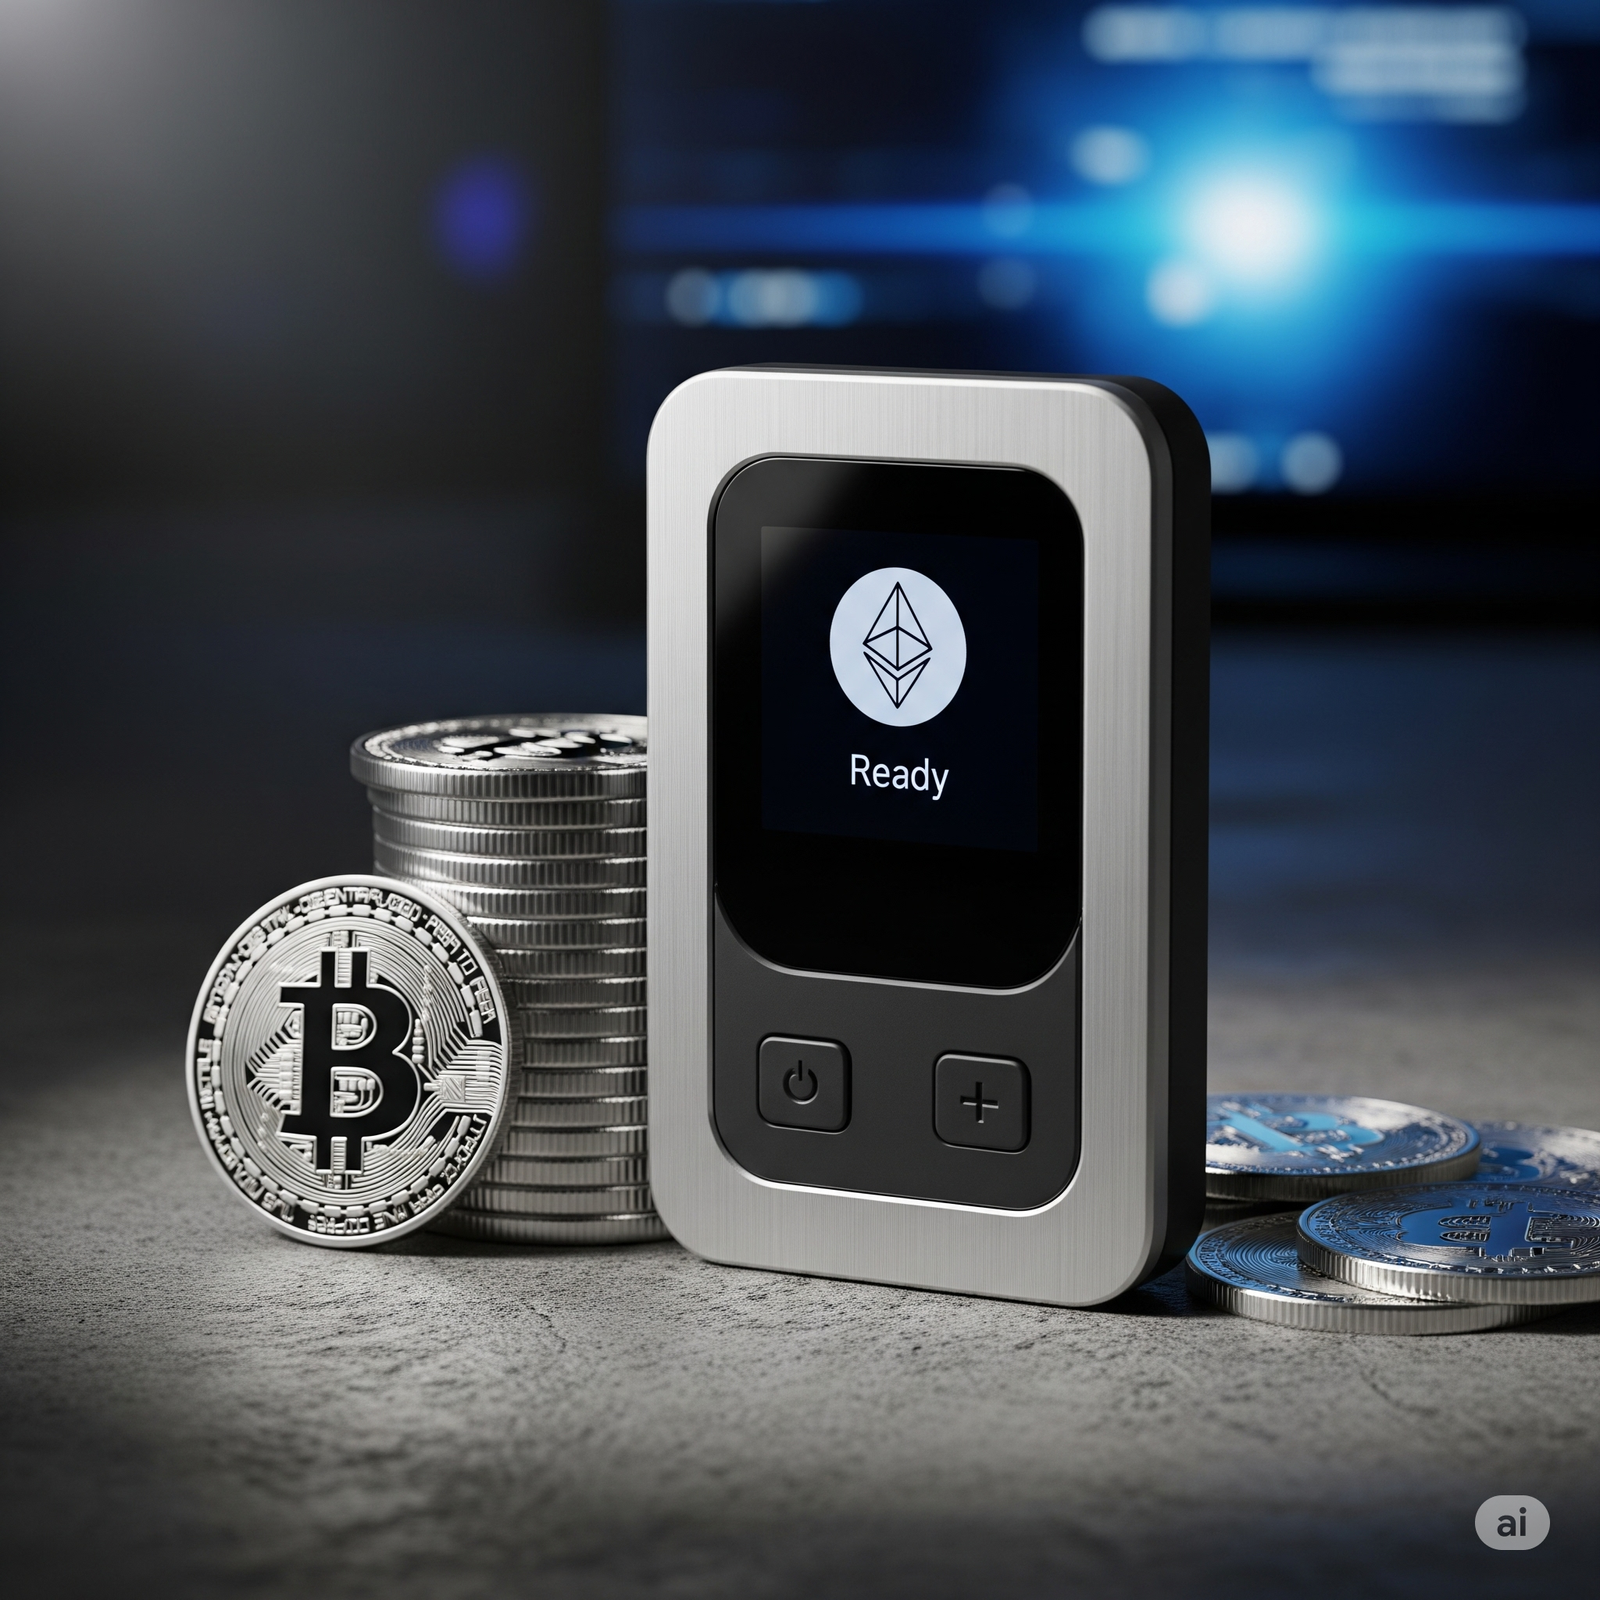
As you delve deeper into the world of cryptocurrencies, security becomes paramount. While software wallets (desktop or mobile apps) and exchange wallets offer convenience, hardware wallets provide an extra layer of protection for your valuable digital assets. These physical devices store your private keys offline, shielding them from online threats like hacking and malware. Think of it as a highly secure vault for your crypto keys, accessible only when you physically authorize a transaction.
This blog will guide you through the general steps of using a hardware wallet. Keep in mind that the exact process might vary slightly depending on the specific device you own (e.g., Ledger Nano S/X, Trezor Model One/T, Coldcard). Always refer to your device’s official user manual for detailed instructions.
Why Use a Hardware Wallet?
Before we dive into the “how,” let’s quickly reiterate why hardware wallets are a crucial security tool for cryptocurrency holders:
- Offline Storage: Your private keys are stored on the physical device and never exposed to the internet, significantly reducing the risk of online attacks.
- Transaction Signing: Transactions are signed on the hardware wallet itself. Even if your computer is compromised, hackers cannot access your private keys to authorize transactions without physical access to the device and your PIN.
- Protection Against Malware: Hardware wallets are designed to be resistant to malware that might be present on your computer.
- Confirmation on Device: You typically need to physically confirm transaction details on the device’s screen before they are broadcast to the blockchain, ensuring you know exactly what you’re signing.
General Steps to Using a Hardware Wallet:
Here’s a step-by-step guide to the typical process of using a hardware wallet:
1. Initial Setup:
- Unboxing and Inspection: Carefully unbox your hardware wallet and ensure it hasn’t been tampered with. Most reputable manufacturers provide tamper-evident packaging.
- Connecting to Your Computer: Connect your hardware wallet to your computer using the provided USB cable.
- Installing Companion Software: You’ll usually need to install companion software provided by the manufacturer on your computer. This software acts as an interface to manage your device and interact with blockchain networks.
- PIN Setup: The device will prompt you to set up a unique PIN code. This PIN is essential for unlocking the device and authorizing transactions. Choose a strong PIN and memorize it. Some devices might also offer passphrase protection for an extra layer of security.
- Seed Phrase Generation: This is the most critical step. The hardware wallet will generate a recovery seed phrase (typically 12 or 24 words). Write this seed phrase down on the provided recovery card(s) and store it in a secure and separate location. This seed phrase is your backup. If your hardware wallet is lost, stolen, or damaged, you can use this phrase to recover your cryptocurrency on a new hardware wallet. Never store your seed phrase digitally or take a photo of it.
2. Setting Up Cryptocurrency Wallets:
- Using the Companion Software: The companion software will allow you to set up wallets for different cryptocurrencies supported by your device (e.g., Bitcoin, Ethereum, Litecoin).
- Generating Addresses: Once a wallet is set up, you can generate unique receiving addresses for each cryptocurrency. These are the addresses you’ll share with others or use to send crypto to your hardware wallet.
3. Receiving Cryptocurrencies:
- Generating a Receiving Address: Open the companion software, select the cryptocurrency you want to receive, and generate a new receiving address.
- Verifying the Address: Crucially, always verify the generated receiving address on the screen of your hardware wallet. This ensures that the address displayed on your computer hasn’t been tampered with by malware. The address on your computer screen and the hardware wallet screen should match exactly.
- Sharing the Address: Once you’ve verified the address on your hardware wallet, you can safely share it to receive cryptocurrency.
4. Sending Cryptocurrencies:
- Initiating a Transaction: In your companion software, initiate a “send” transaction and enter the recipient’s address and the amount of cryptocurrency you want to send.
- Reviewing Transaction Details on Hardware Wallet: The companion software will send the transaction details to your connected hardware wallet. Carefully review all the details on your hardware wallet’s screen, including the recipient’s address and the amount.
- Authorizing the Transaction: If all the details are correct, you’ll need to authorize the transaction by entering your PIN code on the hardware wallet and confirming the transaction using the device’s buttons.
- Broadcasting the Transaction: Once you’ve confirmed on the hardware wallet, the signed transaction is broadcast to the blockchain network.
5. Updating Firmware:
- Importance of Updates: Hardware wallet manufacturers regularly release firmware updates to improve security, add new features, and support new cryptocurrencies.
- Following Manufacturer Instructions: Always follow the official instructions provided by the manufacturer to update your device’s firmware. Ensure you have your recovery seed phrase safely stored before initiating a firmware update.
Important Security Tips:
- Buy Directly from the Manufacturer: Purchase your hardware wallet directly from the official manufacturer or an authorized reseller to avoid receiving a tampered device.
- Keep Your Seed Phrase Secret and Secure: This is your ultimate backup. Never share it with anyone, and store it in a safe, fireproof, and waterproof location. Consider using metal seed phrase storage solutions for added durability.
- Use a Strong PIN: Choose a PIN that is difficult to guess.
- Beware of Phishing Scams: Be cautious of emails, messages, or websites that try to trick you into revealing your PIN or seed phrase. Legitimate hardware wallet companies will never ask for this information.
- Regularly Update Firmware: Keep your hardware wallet’s firmware up to date.
- Verify Addresses on the Device: Always double-check receiving and sending addresses on the hardware wallet screen.
Conclusion:
Using a hardware wallet might seem a bit more involved than other types of crypto wallets, but the enhanced security it provides is well worth the extra steps. By keeping your private keys offline and requiring physical confirmation for transactions, you significantly reduce your risk of losing your valuable cryptocurrency to malicious actors. Take the time to understand your specific hardware wallet’s instructions and follow best security practices to safeguard your digital assets.


Leave a Reply